How Do I Install A Roof Mounting System For My Solar Panels?
Aug 24, 2023
How do I install a roof mounting system for my solar panels?
Installing a roof mounting system for solar panels is an essential part of the solar panel installation process. The roof mounting system is responsible for securely holding your solar panels onto your roof. It is therefore important that it is installed correctly to prevent any damage to your roof or your solar panels. The following article aims to provide a step-by-step guide on how to install roof mounting system for solar panels.

Step 1: Gather the necessary equipment and tools
Before starting the installation process, you need to ensure that you have all the necessary equipment and tools. The following is a list of equipment and tools that you will need:
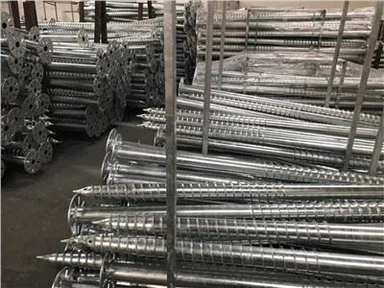
- Roof mounting system kit
- Solar panels
- Roof flashings
- Roof sealant
- Drill
- Screws
- Ladder
- Safety harness
- Tape measure
- Level
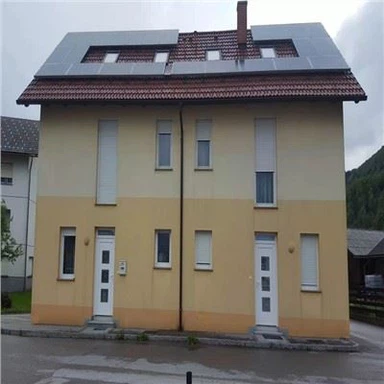
Step 2: Assess your roof
The first thing you need to do before installing the roof mounting system is to assess your roof. You need to determine whether your roof is suitable for solar panel installation. Factors to consider include:
- Roof pitch: Generally, roofs with a pitch of 30 degrees or less are suitable for solar panel installation.
- Roof material: The most common roof materials for solar panel installation are asphalt shingles, metal panels, or concrete tiles.
- Roof condition: Your roof should be in good condition and able to support the weight of the solar panels.
- Shade: Make sure that the area where the solar panels will be installed does not receive any shade.
Step 3: Mark out the position of the solar panels
Once you have assessed your roof and confirmed that it is suitable for solar panel installation, you need to mark out the position of the solar panels. Use a tape measure and level to ensure that the position of the solar panels is accurate.
Step 4: Install roof flashings
After marking out the position of the solar panels, you need to install roof flashings. Roof flashings are used to waterproof the area where the solar panels will be installed. Follow the installation instructions in the roof flashing kit.
Step 5: Install roof mounting brackets
The next step is to install the roof mounting brackets. The roof mounting brackets will hold the solar panels onto the roof. Follow the manufacturer's instructions for installing the roof mounting brackets.
Step 6: Install the rails
After installing the roof mounting brackets, you need to install the rails. The rails will run perpendicular to the roof mounting brackets and be attached to the brackets. Follow the manufacturer's instructions for installing the rails.
Step 7: Install the solar panels
After installing the rails, you can then attach the solar panels to the rails. Follow the manufacturer's instructions for installing the solar panels.
Step 8: Secure the solar panels
Once you have attached the solar panels to the rails, you need to secure them. Use screws to secure the solar panels to the rails.
Step 9: Seal the gaps
After securing the solar panels, you need to seal the gaps. Use roof sealant to seal any gaps around the solar panels to prevent water from entering the roof.
Step 10: Test the system
Finally, you need to test the system to ensure that it is working correctly. Use a multimeter to test the voltage output of the solar panels.
In conclusion, installing a roof mounting system for solar panels is an important part of the solar panel installation process. It is important to ensure that the roof mounting system is installed correctly to prevent any damage to your roof or your solar panels. By following the steps outlined above and using the right equipment and tools, you can install a roof mounting system for solar panels successfully.